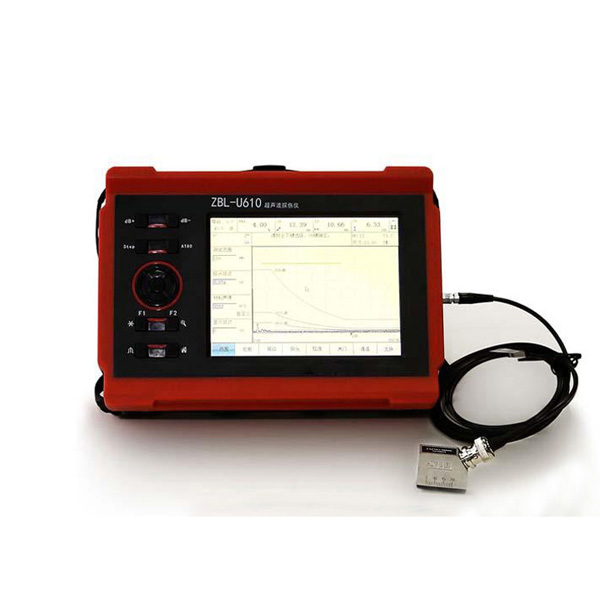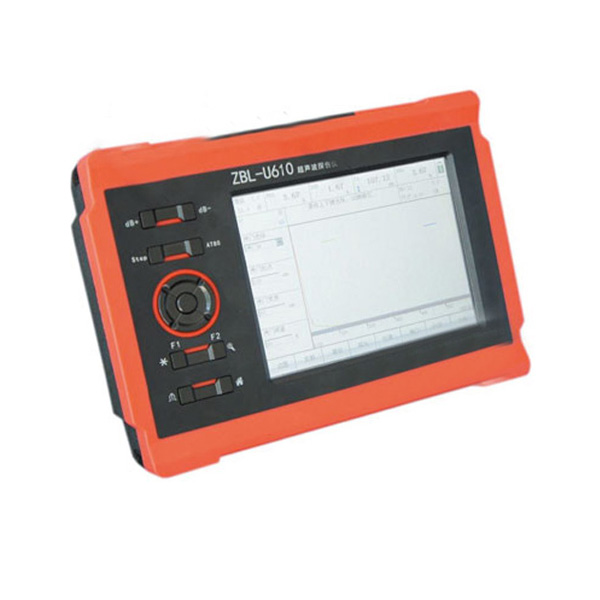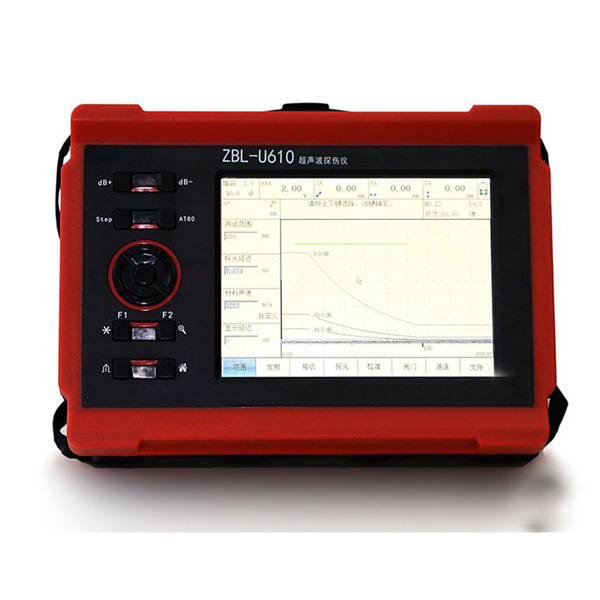
ZBL U610 Digital Non Destructive Ultrasonic Flaw Detector is a portable industrial harmless flaw detector. As for the interior various flaws (crack, shrinkage, stoma and inclusions), the ultrasonic flaw detector can do rapid inspection, convenient location, harmless evaluation and accurate diagnosis. And it also can inspect interior flaws and weld quality of various materials (like steel, copper, aluminum, commented carbide, casting, organic glass and composite). Apart from that, it can inspect flaws, such as stoma, crack, shrinkage, inclusions, and incomplete penetration.
ZBL U610 Digital Non Destructive Ultrasonic Flaw Detector is applied to the industries, including boiler, pressure vessel, aerospace, electric power, petroleum, chemistry, offshore oil, pipeline, war industry, shipbuilding, automobile, machine manufacturing, metallurgy, metal processing industry, steel structure, railway traffic, nuclear energy and colleges and universities.
Color liquid crystal display with high resolution, the real time measurement system of echo dynamic;
Simple button, and the combination of touch screen and button provides more convenient one handed operation pattern for users; The operation of USB is available. The real time data backup and recovery; the operators do not need to be afraid of deleting their data; instead they will be carried with you;
With its function of real-time screen alarm and analog output. Its two independent measuring gates are applied to dealing with wider ranges;
The optional frequency range from 400 kHz to 20MHz matches probe to reach the optimum performance;
With function of flexible configurable measuring result. The needed important measuring information is chosen by the operator; Various choices of color profile are provided for operators to display topics and controlling brightness, adapting operating requirement in different environment; Guided probe calibration and curve making make easy calibration; Being able to store infinite multi group DAC/AVG curves without trouble of channel number; the curve can callout, introduce and derive backup;
Apart from offering two basic evaluation patterns, DAC,AVG(DGS), it provides up to nine kinds of evaluative criteria usually seen at home and broad. Besides, the corresponding standard test block and inspection level ar set inside to ensure the safe calibration;
AT80’s adjusting function of auto-gain with one click can adjust gain automatically to set echo-peak at the 80% of full screen, quickly up to users’ requirements;
The envelope function of peak can clearly reflect the location where the highest echo (flaw) occurs during the scanning;
With the function of continuously storing A scanning image (that is kinescope recording) and real-time playback. It can continuously record test procedure for up to five hours;
|
Power |
AC: 220V±10%, DC: +9V |
|
Working time |
>5hrs |
|
Total weight |
1.25kg (include inside lithium-ion battery) |
|
Total volume |
210mm(length)´149mm(width)´60mm(thickness) |
|
Display |
5.7 inch, high brightness and true color liquid crystal display |
|
Storage |
Micro SD (TF) card, standard configuration is more than or equivalent to 4GB |
|
Operating system |
Windows CE |
|
Operating mode |
Touch screen + button |
|
Working mode |
Single, double and transmission |
|
Measuring mode |
Pulse front inside gate, peak |
|
Detection mode |
Positive half wave, negative half wave, full wave and RF wave |
|
Transmitting voltage |
Highest(360V) or lowest(110V) |
|
Transmitting frequency |
Manual, high automatic, medium automatic and low automatic |
|
Gain range |
From 0dB to 110dB |
|
Detection range |
20000mm |
|
Sound velocity |
|
|
Waveform inhibition |
From 0 %to 80% |
|
Filter |
1M, 2M, 4M, 5M, 10M,13M and 15M broadband |
|
Vertical linearity error |
Be less than or equivalent to 2.5% |
|
Horizontal linearity error |
Be less than 0,03% |
|
Surplus sensitivity |
More than dB(200Φ2 flat-bottomed hole) |
|
Resolution |
55dB |
|
Dynamic range |
54dB |


Your Name 
Email or trade@chinacoalintl.com
Tel/Wechat/Whatsapp or +8615376502802 
Country
Enquiry 