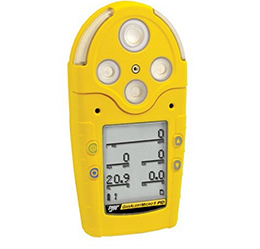
The first step is to install the gas detector in the area where there may be gas leakage. The gas detector must be installed firmly, and the installation position is determined according to the specific gravity of the measured gas relative to air. Since the measured gas specific gravity is less than air, c should be installed 30 to 60 cm away from the ceiling. Fix the detector on the wall with φ8 expansion screw.

In order to use the detector correctly and prevent its failure, please do not install it in the following locations:
a. Places directly affected by steam and oil fumes
b. Places with large air flow such as air supply ports, ventilating fans and room doors
c. Where there is a lot of water vapor and water droplets (relative humidity: greater than 90%)
d. Where the temperature is below -40℃ or above 70℃
The second step is wiring: the wiring should use highly shielded wires to prevent electrical signals from being disturbed, lay the wires well, and open the top cover.
1. The
gas detector generally adopts three-wire transmission, and the positive pole of the power supply is marked (terminal "vcc"), the signal line (the terminal marked "sig"), and the negative pole of the power supply (terminal marked "gnd") are connected respectively. The "24v, ma and gnd" of a group of terminals marked "4-20main" of the access channel module, the chassis ground (the shielding network of the cable) is well grounded, after connecting the wires, the chassis is fastened.
2. Startup: After wiring, power supply to the detector. Immediately after starting, the reading will go from overrange to stable reading, which takes about 15 minutes.
